
Creating a Post
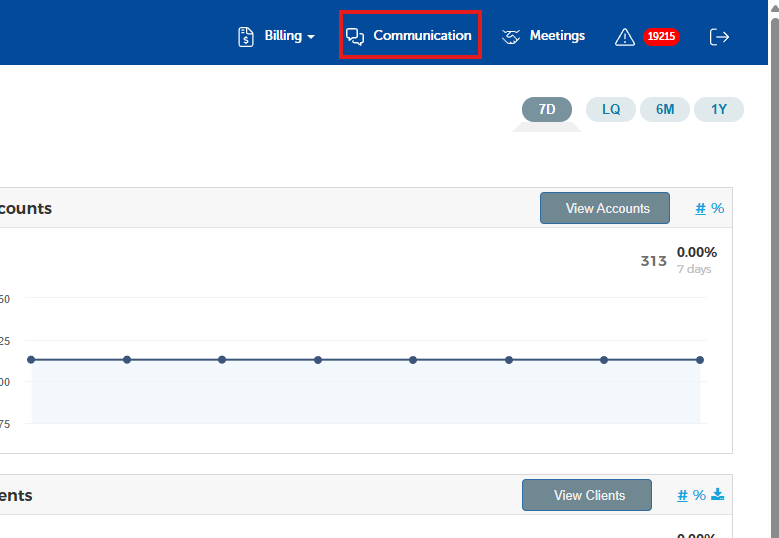
Blueleaf Engage is a powerful tool that allows you to, as the name implies, keep your clients engaged! The most critical function of Engage is the ability to post content to your client's feeds. This can be just about anything, newsletters, articles you find that are of interest, recorded videos, reports, etc. But regardless of what you're looking to post, it all begins in the same place. First, click "Communication" towards the upper right in Blueleaf.
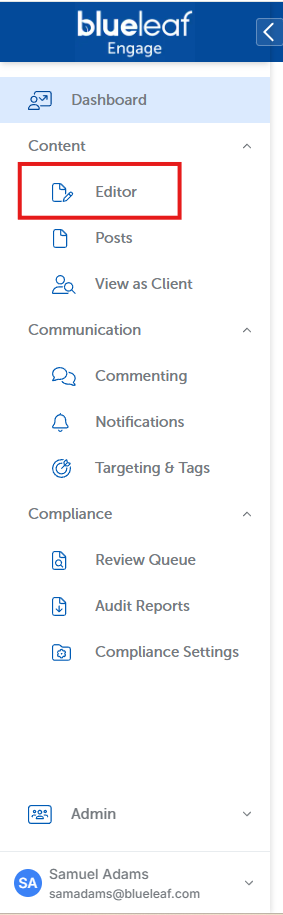
Next, on the subsequent page, click the "Editor" tab along the left navigation bar.
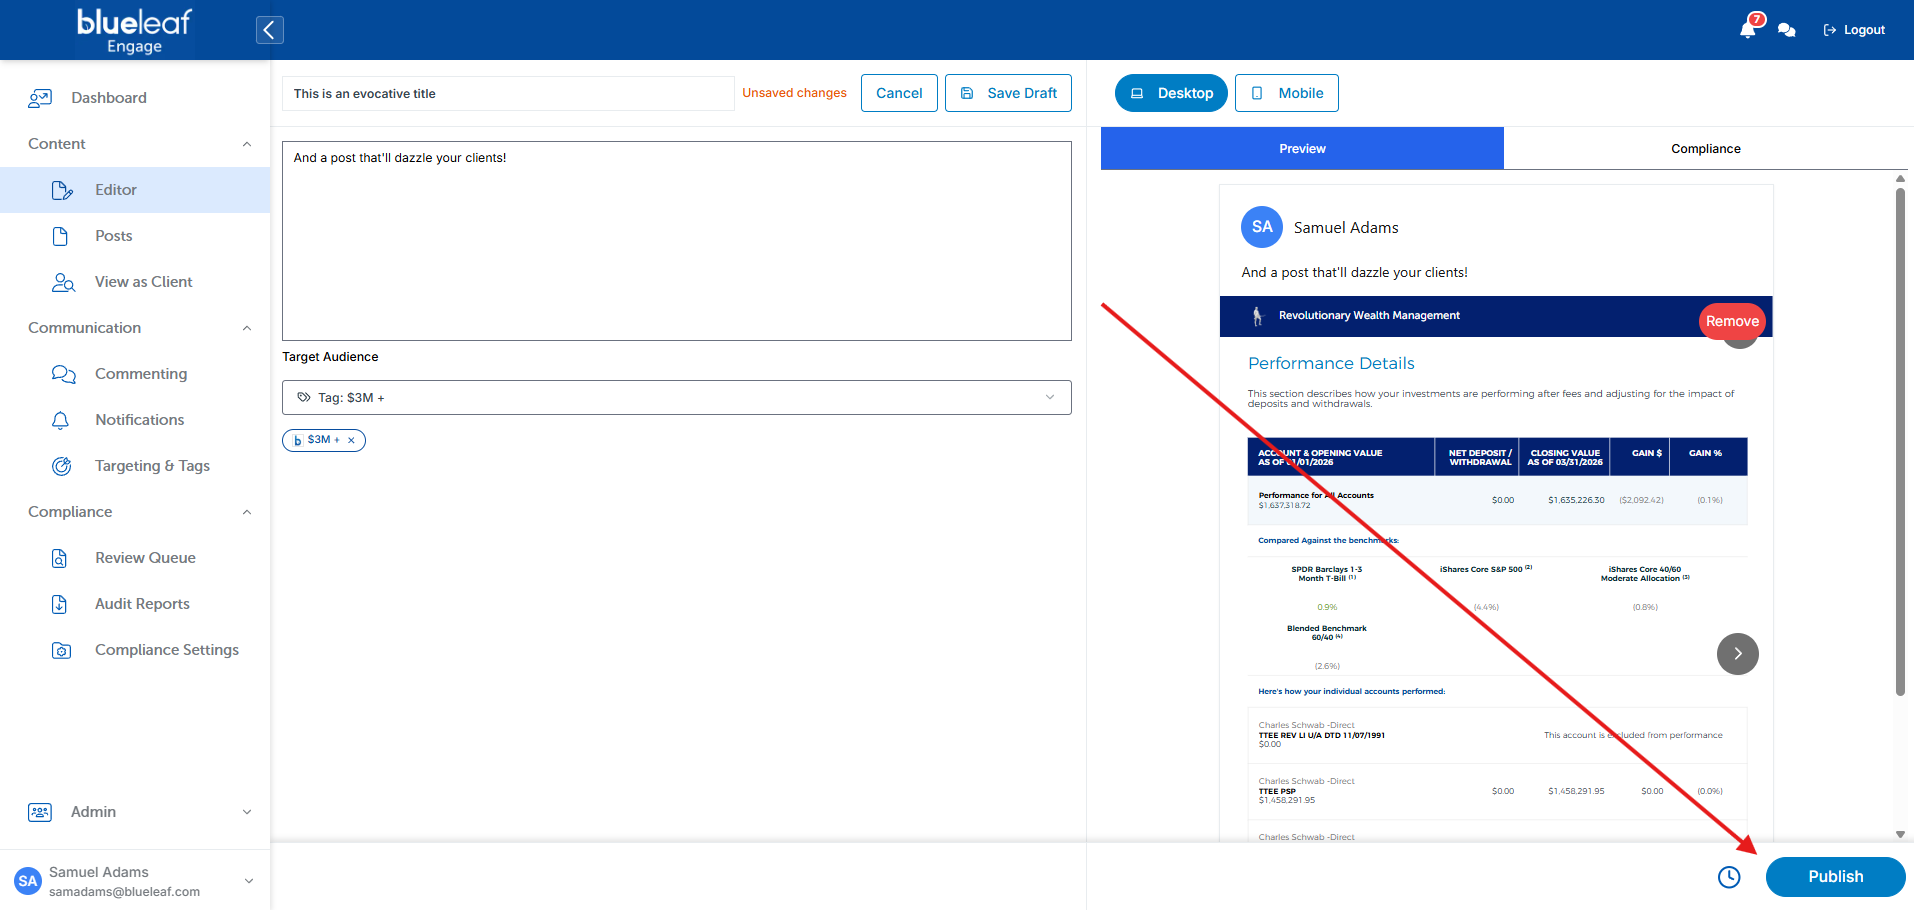
This will open a new draft post for you to begin creating. There are several key fields on this page to fill out as you build your new post.
Along the top of the page is a thin text field you can use to title your post.
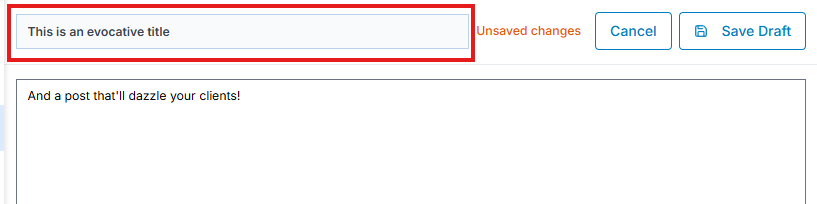
Just below that is the body of your post. Then, below that, you have the opportunity to select which segment of your clients you want the post to be sent to. This lets you ensure that the content you post to your clients is relevant. You don't want to be posting an article about the importance of regular contributions to a 401k to your retirement clients!
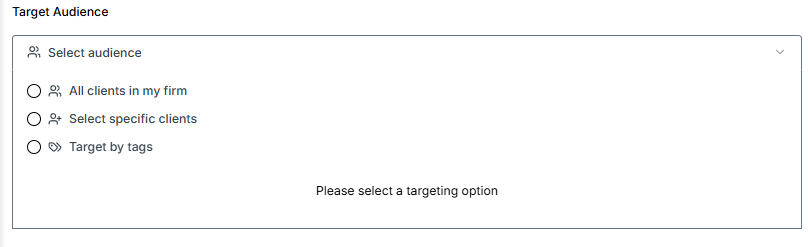
One major way you can target your clients is by using your client tags (not your account tags, those are separate). This is covered in another article, here: Setting Up Tags. We highly recommend you utilize tags to quickly organize your clients. It makes targeting specific buckets of clients substantially easier!
The last way you can customize your post is by uploading media. This can be images, PDFs, articles you find online, or videos. Simply drag and drop your content into the dotted box provided, or click the box to select a file from your device.
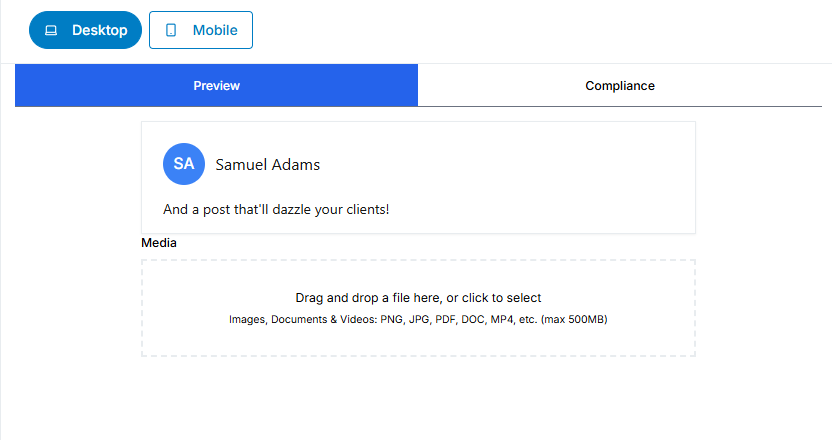
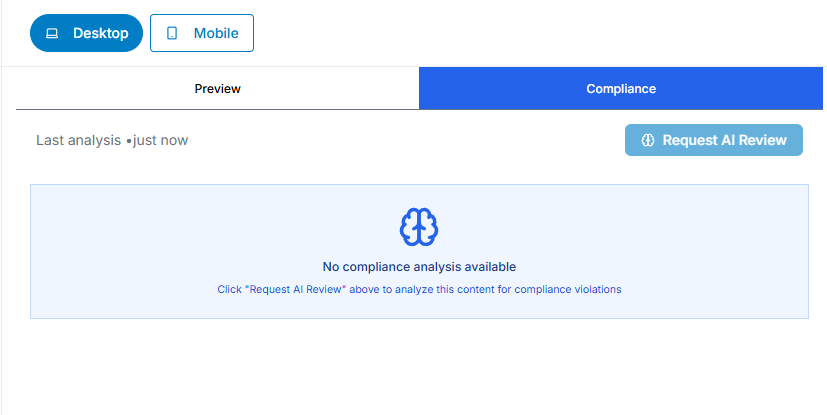
Above the media box is a preview of your post. You can use the desktop and mobile toggles above to see how the post will appear on either device. The compliance tab allows you to request an AI analysis of your draft for any potential issues. Those will then be routed to the compliance section of Engage for review!
Once you've created a title, a body, linked any relevant media, and targeted which clients will receive the post, it's time to publish it. You can either publish it immediately, by clicking the blue button on the bottom right, or schedule the post via the clock icon just next to it.
After you've published your post, clients that receive it will see a notification to the mobile device listed in their portal settings.
We've also included a video that will guide you through creating a post below!