
Setting Up Account Tags
Tags are an easily managed and powerful way to organize accounts and households within your Blueleaf account. Using tags, you can quickly sort through accounts for the types you need in order to more efficiently manage them. You can even schedule reports to be sent to yourself leveraging tags. Check out our video or written tutorials below!
To begin using tags:
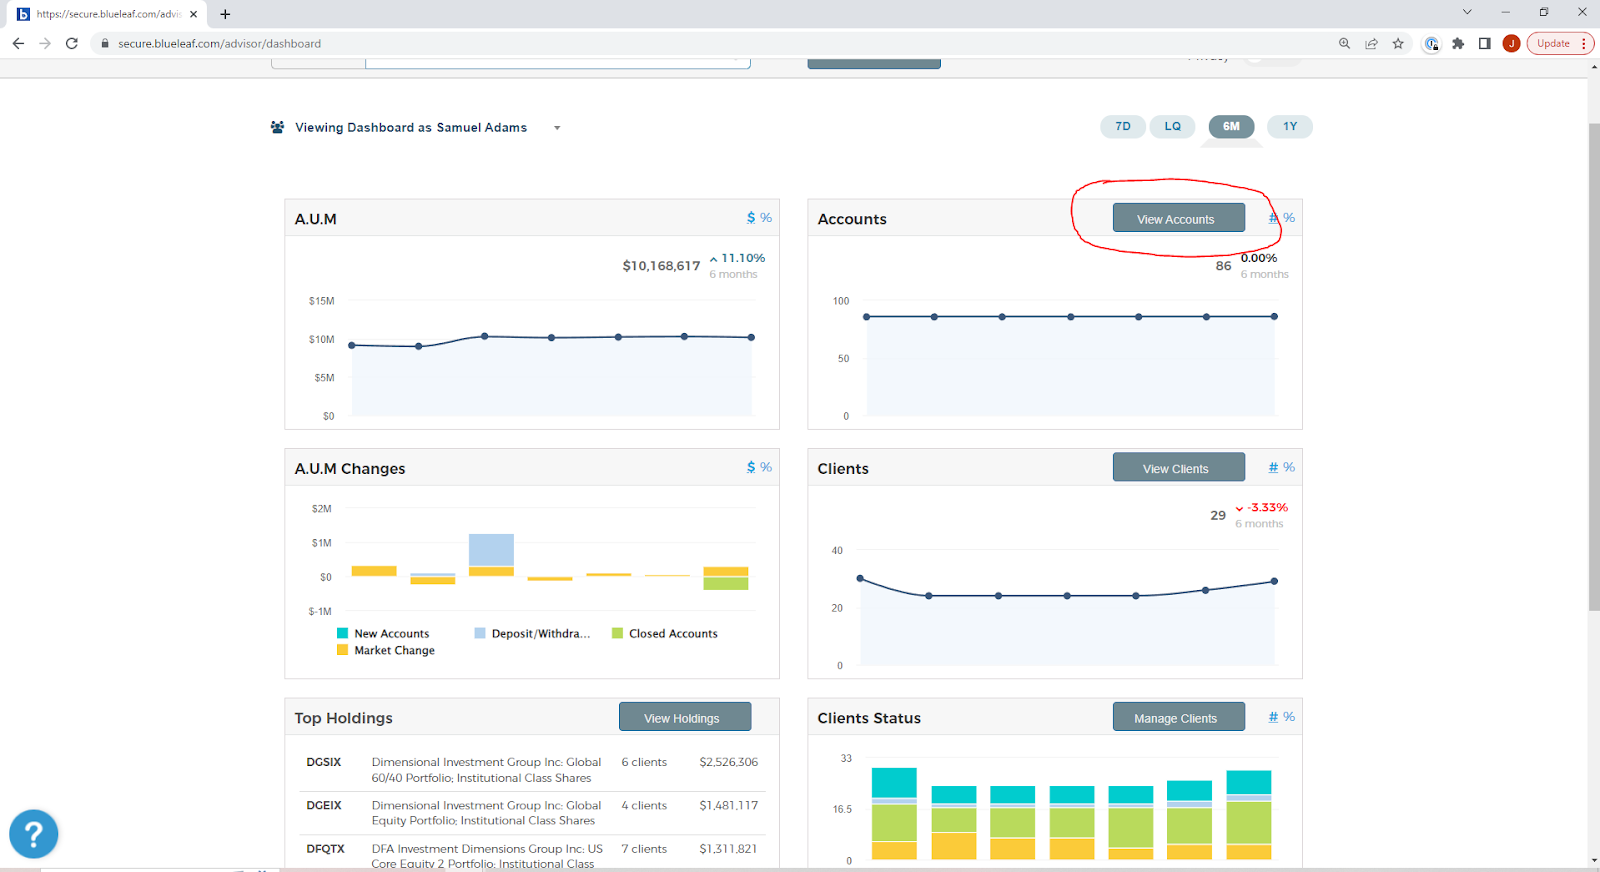
- First navigate to View Accounts from the home page. There are client tags too, but we are covering account tags here.
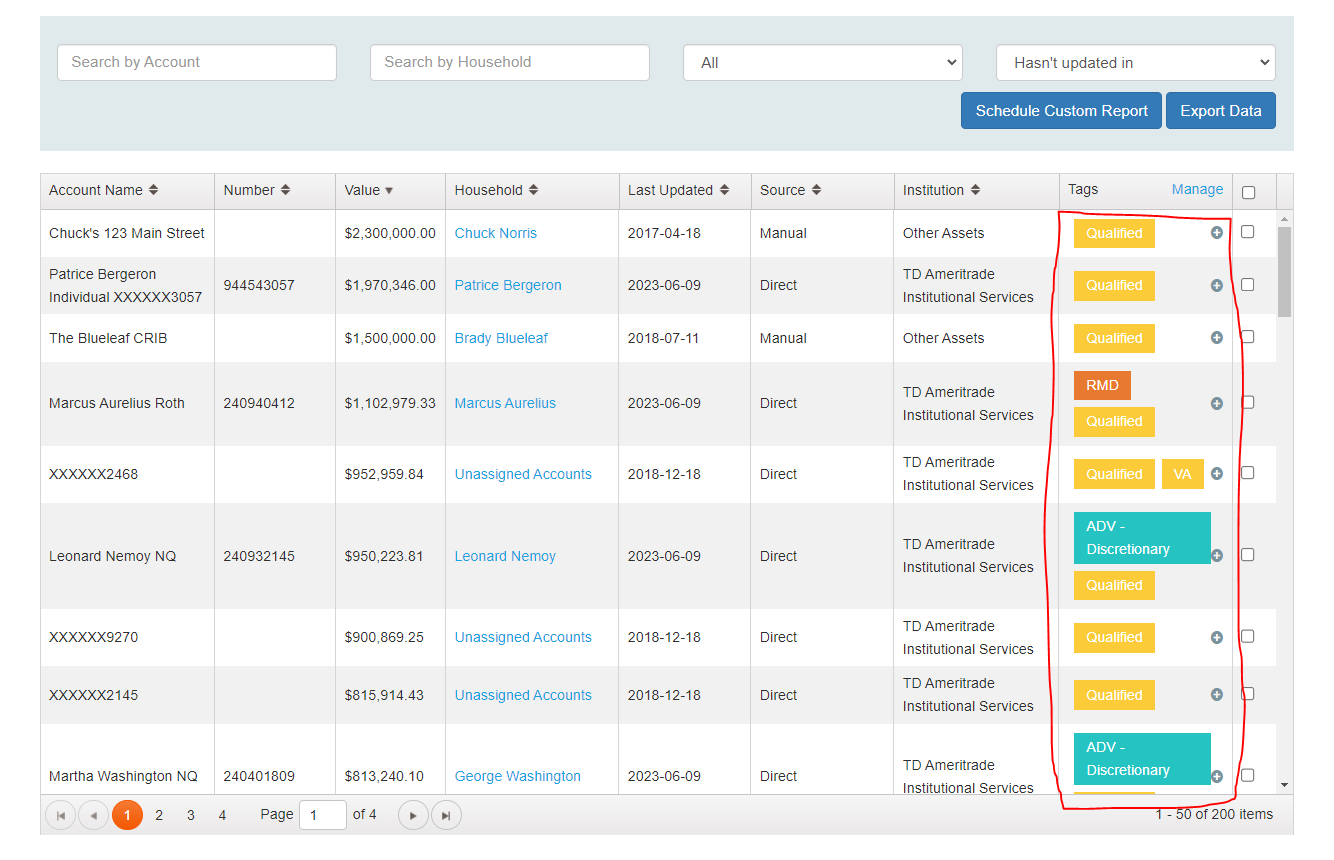
- Locate the Tags column, 2nd from the right on the following page
- Next, click the + sign to the right of any account you wish to add, or edit a tag for.
Some advisors choose to sort tags by account type, such as “401K”, “IRA”, “Qualified” or “Non-Qualified”, etc. While others choose to sort them by objective, such as “aggressive”, “moderate”, or “conservative”. The list of ways you can use tags is only limited by your own imagination!
You’ll be presented with a pop-out screen with two options. Add a Tag and My Tags.
- Add a Tag allows you to create a new tag and then automatically applies it to the account you are currently viewing.
- My Tags gives you a list of existing tags and allows you to apply any number to the selected account.
Once you have selected one or more tags for an account, you can then sort your accounts by that tag. Leave the pop-up window and return to your accounts view. Simply click on the listed tag next to the account in order to sort!
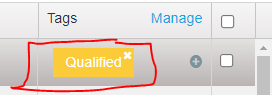
Also, take note of the small “X” that appears in the upper right of the tag when you hover over it. That will allow you to remove the tag from that account.
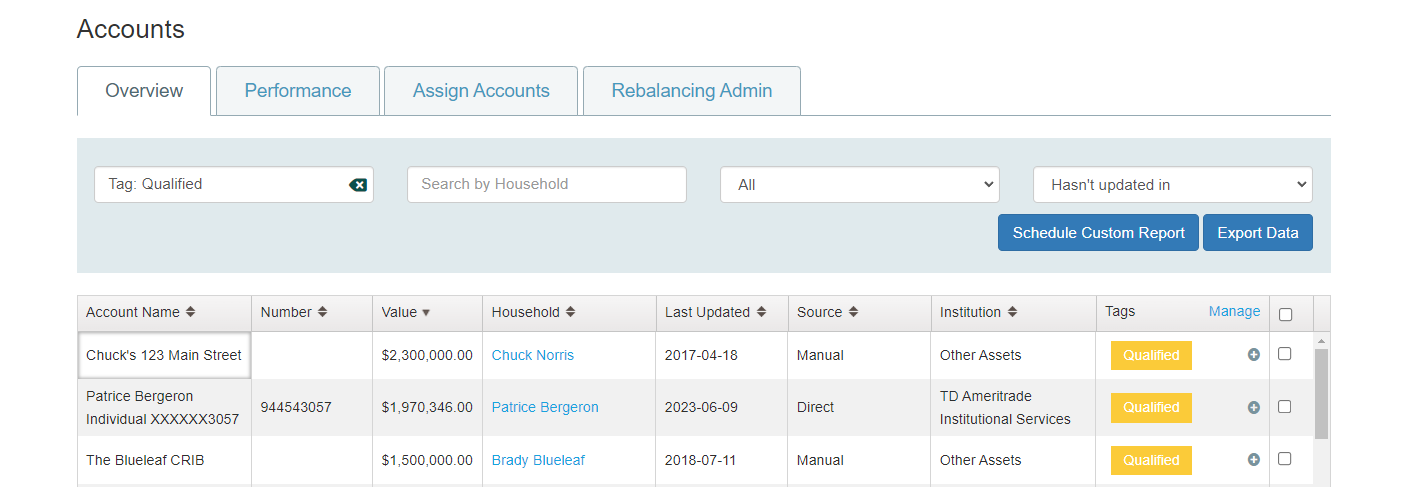
Alternatively, you can search for accounts with a certain tag by using the account search bar above and to the left of your accounts. Type “Tag:” followed by the name of the tag, see the example below!
Managing Tags
Now that you have a basic understanding of tags and how they can be used, let’s talk a bit about what we can do with them. From the View Accounts page click Manage in blue to the right of the tag column.

The following page will give you several options to customize your tags.
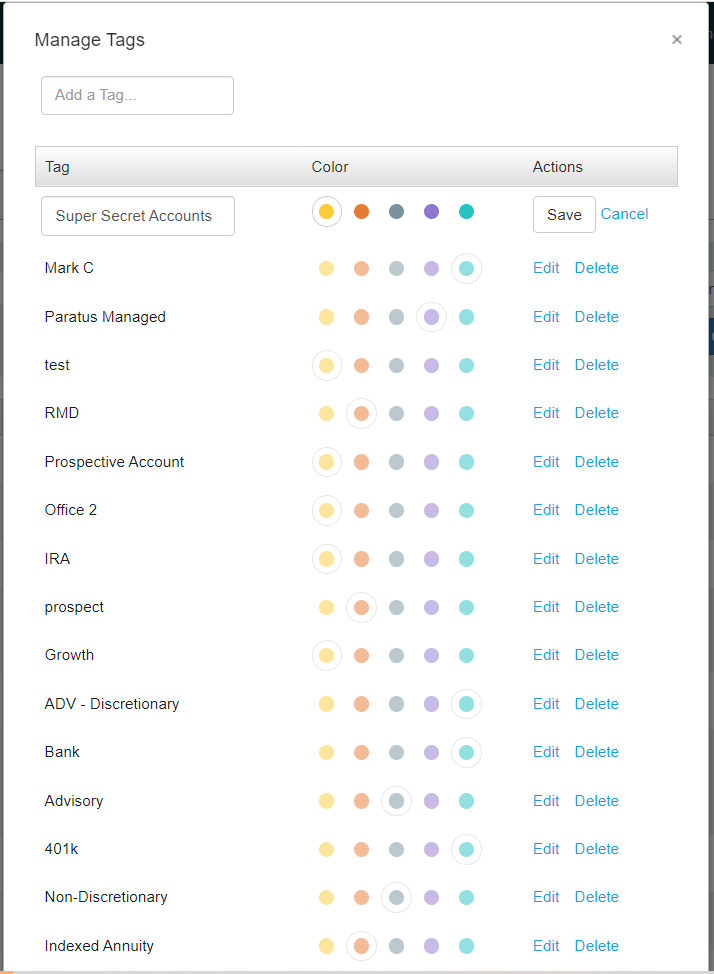
The add a tag box at the top will allow you to add new tags. Clicking “Edit” will allow you to rename the tag, as seen in the “Super Secret Accounts” option. Once satisfied, you’d simply hit “Save”. Scroll to the bottom and then hit “Apply Changes”!
You can also choose the color the tag appears with when on your accounts view. Lastly, should you wish to remove a tag altogether. You can click “Delete” from this page.
To summarize, tags are a quick and easy way to markup your accounts for future searches. This makes your work in Blueleaf that much more efficient and ultimately saves you time in your day to do what you do best (and that’s serving clients)!