
Blueleaf Billing: Getting Started with Blueleaf Billing
To access Blueleaf Billing, sign into your Blueleaf account directly. From the top toolbar, select Billing. Then, select an option from the drop-down menu to open the corresponding page in Blueleaf Billing.
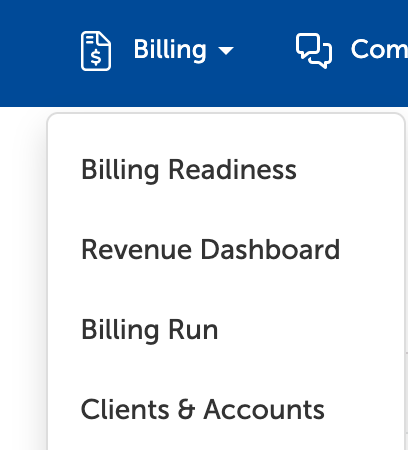
Once in the billing system, everything lives in the left sidebar (top to bottom):
- Billing Readiness - Here is the list of the flags to clear before you bill, and shows data import status for each institution on a custodial feed.
- Revenue Dashboard - Reports fee revenue for selected period. Includes firm AUM, quarterly or monthly revenue, annualized revenue, avg fee rate, billable clients, three charts, and the client revenue detail table.
- Billing Run - This opens the current cycle. Here there are four steps to take: Review Accounts, Review Fees, Exceptions, Approve. Invoices and exports come after approval.
- Clients & Accounts - Access and adjust client and account specifics for billing. This includes which AUM schedule applies, where each fee is drawn from, which accounts and holdings are excluded.
- Reports - Reports is a feature which allows users the flexibly to export billing data from the billing system. There are two Report types that are currently available to export: Billing Details and Billing Readiness Flags
- Fee Schedules - Create, view, and edit fee schedules. There are three tabs: AUM Schedules, Subscription Fees, One-Time Fees.
- Firm Settings - Firm-wide choices on the Billing Settings tab, and billing roles on User Permissions.
Need help? Email vipsupport@blueleaf.com with any billing questions, feedback, or issues.