
Using Tags to Send Targeted Posts
You can use your Blueleaf tags to select segments of your clients to receive your posts in Engage. This can allow you to be more surgical in what types of content your clients receive. You don't want your retirement clients to receive a post about the importance of contributing to a 401k for instance. Nor would you need to alert your younger clients about an upcoming required minimum distribution. Without doing this, you risk diluting your clients with irrelevant content, which will keep them from coming back.
To begin, you'll first need to create client tags for your clients. Tags as a concept is discussed in this article here. Like with accounts, you can also create and manage tags for your clients.
Creating Your Tags
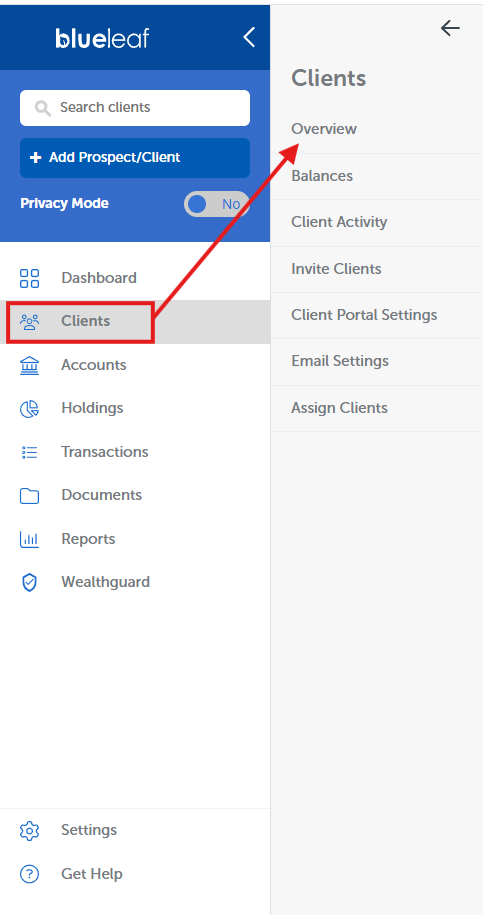
First, navigate to Clients > Overview from the Blueleaf Dashboard.
Next, you can create new tags by clicking Manage in the "Tags" column. You can organize your clients in anyway you see fit. Age, risk level, type of client, fruits, there's no wrong answer. Only the way that makes the most sense for your firm!

Once you've added all the tags you plan to utilize, click Apply Changes at the bottom of the list. You can then start adding tags to your clients either by clicking the "+" icon next to each or by using the checkboxes to select your clients and then clicking Assign Tags.

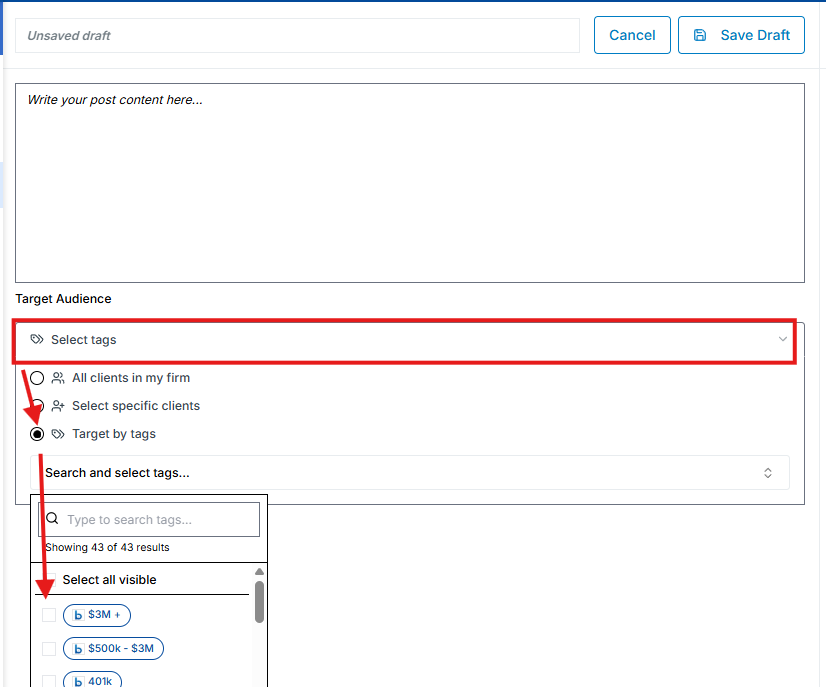
Once you're satisfied with your assignments, you can now target segments of your clients by those tags when creating posts in Engage. From the editor, click the "Target Audience" dropdown menu, followed by Target by Tags. You can then select which group of clients you wish to receive the post.
From there, just finish creating your post! You've successfully organized your clients to ensure they receive only relevant posts from Engage. We walk through this process in the video below as well, check it out!